
You wake up and everyone is outside picking peas in the garden. It’s the morning at your parent’s home before the morning you’re going to leave and go home. This visit was too short and you won’t see them for a few months. Again. Maybe six or seven. Maybe eight on the outside.

Mom’s the fastest pea-picker. She’s got the most experience. Joe tries to keep up, but her fingers are defter and have years of practice.
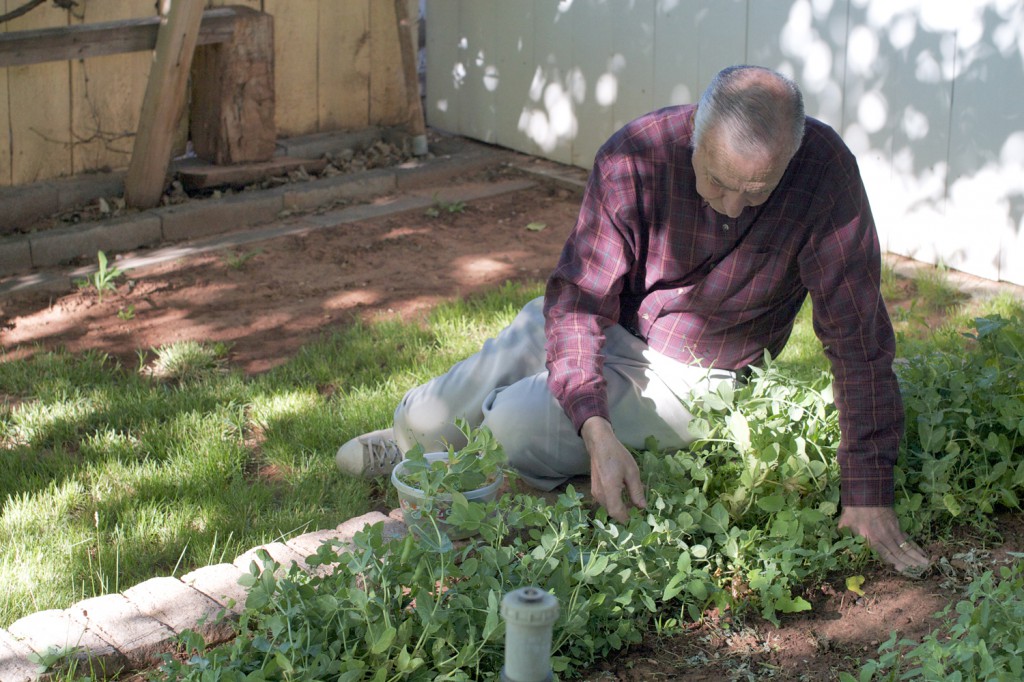
Dad is pulling up weeds, then pea plants. Occasionally he looks over, evaluates what Mom is doing and then, copying her, manages to pick a pea pod and put it in his bowl. He’s unsure about what they’re doing out there, but wanting to be a part of things, he carries on.
You snap a few photos because that’s what you do and there is a safety, a distance, at watching your father fade away slowly through the lens of a camera. You can hardly make yourself look straight at him this trip. It takes a herculean effort to stare straight at the sun, eyes never wavering, and accept and love and hold him in your heart because it doesn’t even feel like him anymore. He’s almost not there at all but what is there still looks like him and smiles like him and smells like him, mostly. There’s a new scent about him now on top of the other more familiar ones. You can’t place it but wonder if it’s just the smell of getting older. It’s still him, just not quite him.

The cousins do a puzzle in two hours flat and when you interrupt in the middle to corral them outside so you can take photos, they roll their eyes dramatically like you’ve just asked them to hike Mt. Kilimanjaro in clown suits.

But, they oblige with some good-natured, dramatic protesting, then ham it up for the camera.

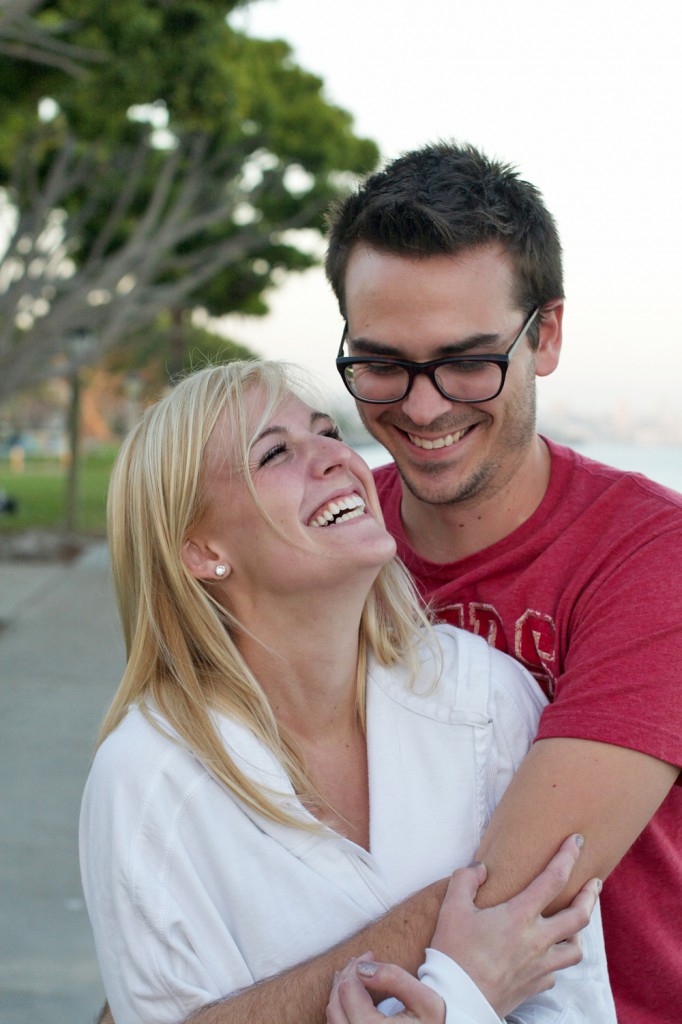
Your sisters are some of the most beautiful people you know and they let you snap their photo.
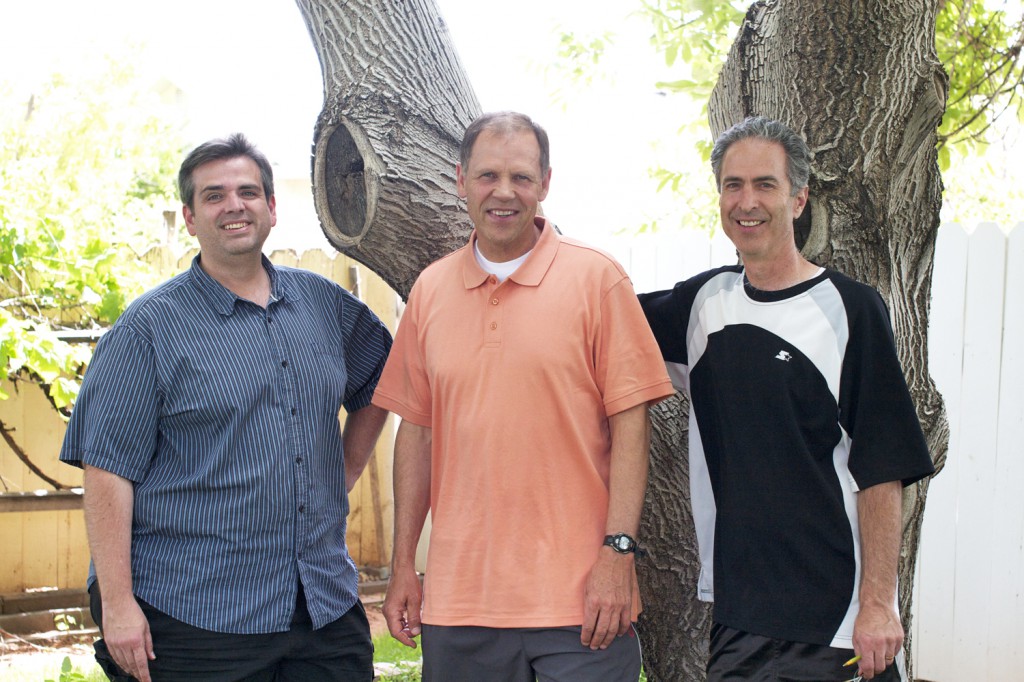
And so do your brothers and your husband because recording every dang moment together feels important right now. Ever more important.
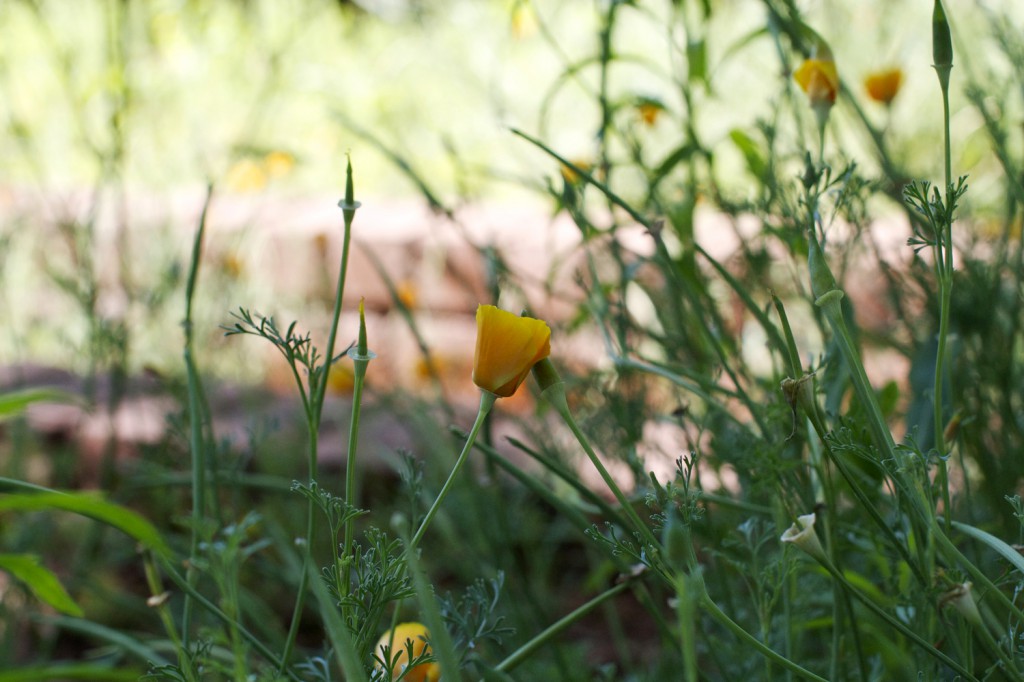
Most of the garden beds are flowers this year. What once held tomatoes and lettuce and carrots and other things that needed constant tending now hold wild flowers because there isn’t anyone with enough time and energy to tend them anymore. It’s beautiful and truthful and hard and sad. Dad can’t tell the difference between weeds and vegetable plants and Mom spends her days and nights watching over Dad.

She helps him with everything. Everything. You hear her in the other room reminding him to do the smallest things that you know he’s done millions of times in his lifetime, but now they are just beyond him. She gets him his snacks. Helps him take a nap. Reminds him who all the people are in the house that he doesn’t know. And a few seconds later he’ll ask again where the pretty flowers on the table came from and Mom will explain, again, that they are from the pretty bush he loves and planted in the front yard. You’ll smile, again, and tell him they smell lovely. Dad will nod. And then ask again in a few minutes. With every rotation of the conversation you can feel your heart hurting and it’s also just the way it is, so you deal with it and feel glad he’s still there to ask about the flowers at all.
Dad reads the paper. *You watch him turn it this way and that way, folding and unfolding, staring and looking and reading the same articles over and over. You look away because you remember what an avid reader he once was. You remember him reciting from memory poem after poem while you sat in mortified silence because you were embarrassed that your dad was such an old, stodgy nerd that would read those old, fogie poems and take the time to memorize them and then make you sit there for minutes on end, nay, all of eternity, while the phrases of Rudyard Kipling’s If rang out of his mouth, loud and clear, commanding the room at every family function.
What you’d give now to hear him be able to recite anything. Or even remember who you are. And you have pains in your soul in a way you can’t even describe. Too bad you didn’t pay attention to any of that poetry. That’s probably where the words are that escape you and you’re angry at your teen self for being so short-sighted and wasting valuable time being so…so…teen. Even with the confusion of all the hard things that were between you, you love him deeply and wish you could have a conversation about something, anything, even if it was hard.

You ask Mom if she’s lonely. You want to make sure she’s ok, that she doesn’t feel isolated or left too much alone, without support. She says she loves Dad as much as she ever did and considers this the next part of their partnership. She says she’s fine, that she takes care of herself along with Dad and not to worry. You worry anyway and you love her fiercely in a way that you didn’t know possible and the grief rises a little and you wash a few more dishes and wonder what you can do to be more supportive from hundreds of miles away.
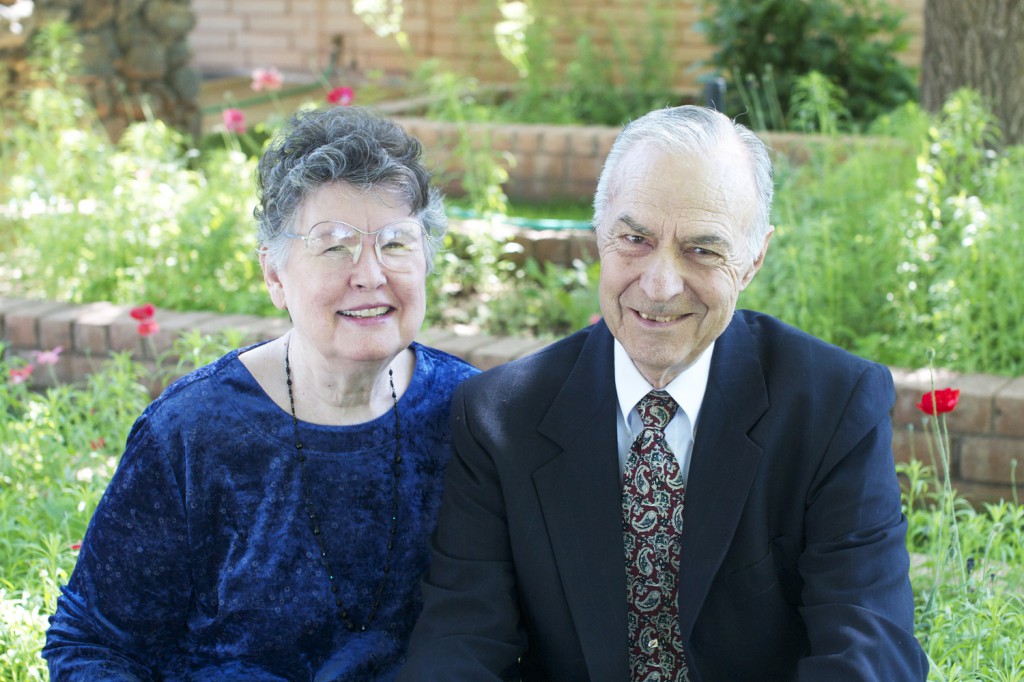
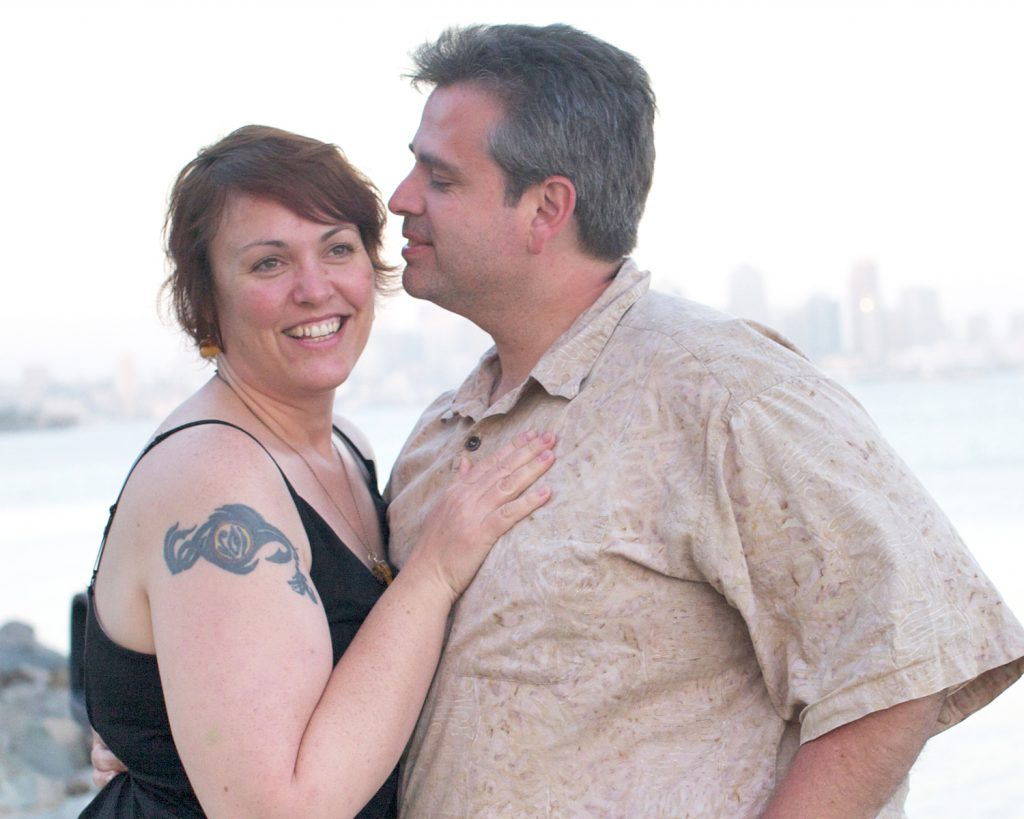
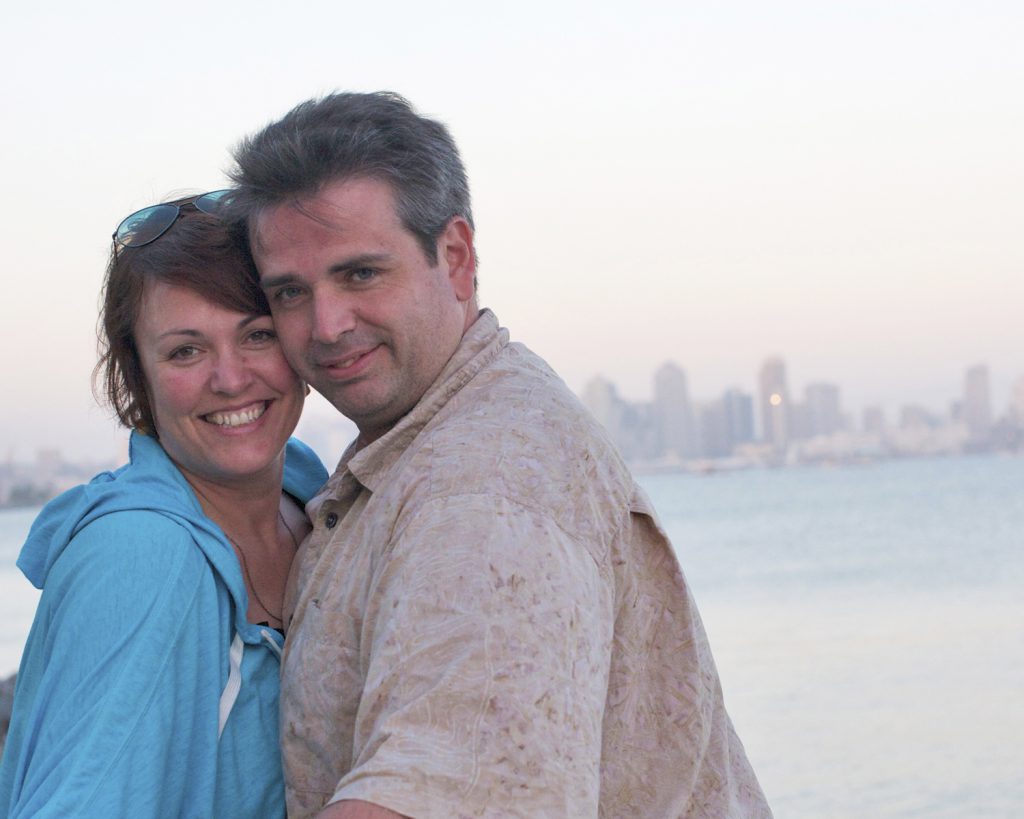
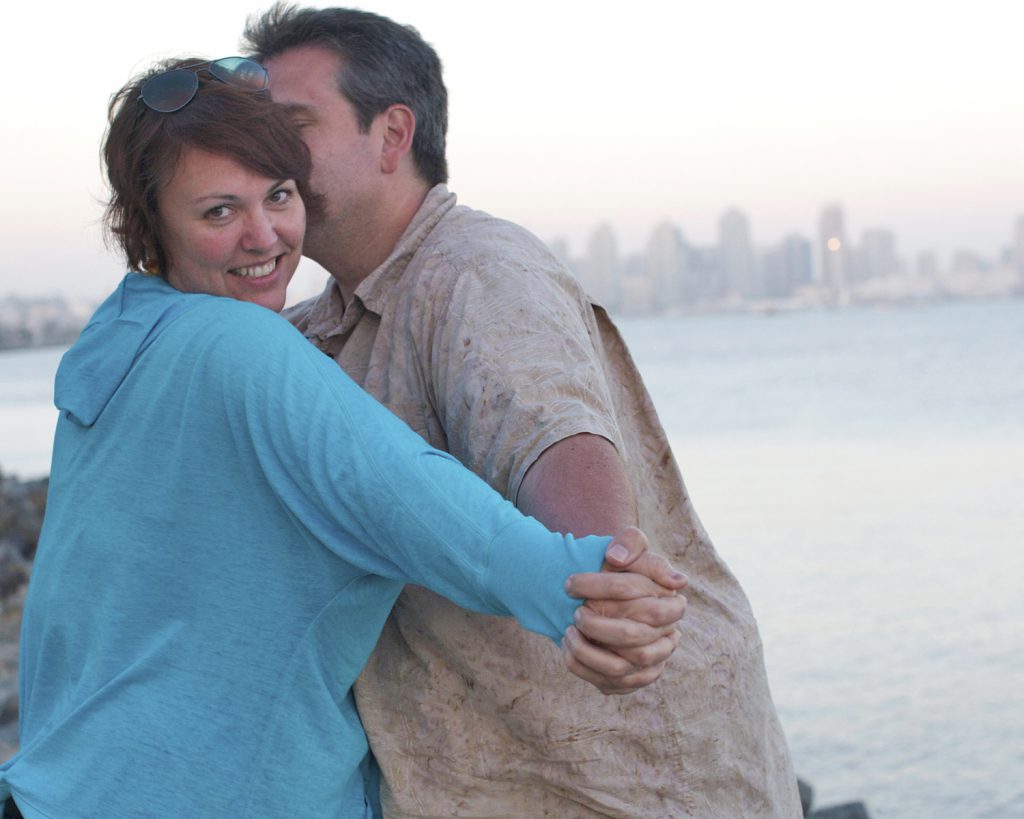
You take out your camera for the annual photos for next December’s Christmas card. You snap shots, this way and that way, looking at your parents through the lens and wondering how things can be like they are. The frustration at how unfair it feels fades away as you do what comes second-nature. You check the light, check your f-stop, check for dust on the lens and realize there’s nothing on the lens that keeps making things look blurry, that’s just you. You stare with the safety of the lens into the eyes of your dad and try to find him in there.
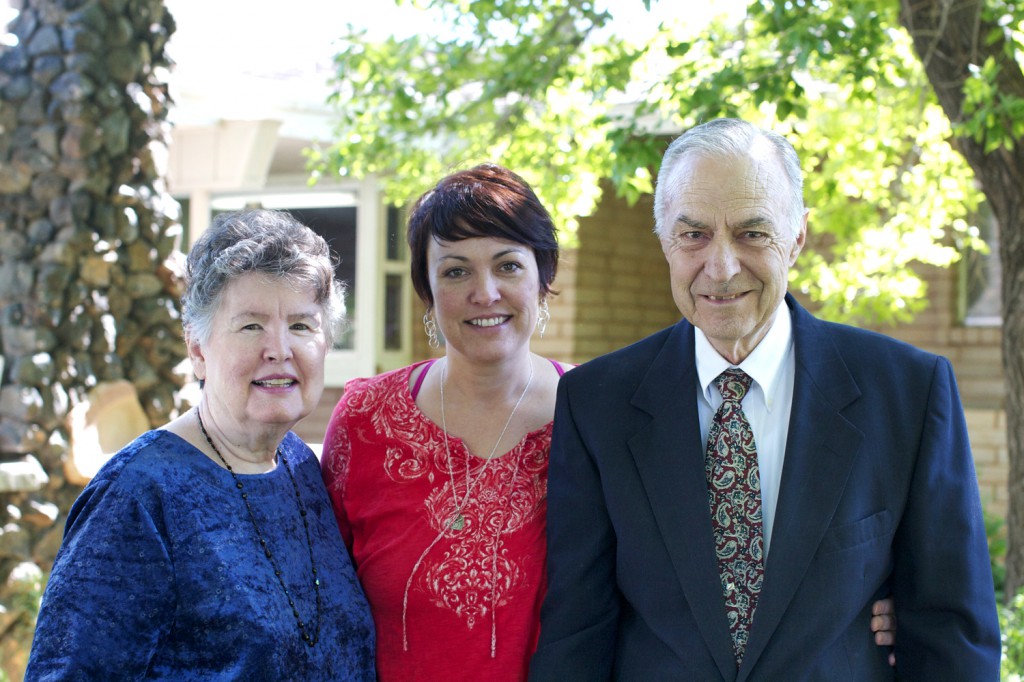
Then, your husband grabs the camera and takes a shot of the three of you and you see you, with them, and maybe some of who the man your dad still might be deep inside himself looking back at you. At least you want to think so when he gives you a hug and says, “Thanks. Come again sometime soon. We like it when our friends come to visit.”

You wave goodbye to Mom who is standing by herself outside where they both used to stand when you left, blowing kisses and waving. And then you cry. And promise to come back soon before he fades too much further away. You hope. *And wouldn’t it be nice to believe that someday, maybe in heaven, Dad will be like he used to be or even better and you reconsider your non-belief of religion.

You get melancholy and your almost-twenty-year-old youngest son makes you laugh by buying a tshirt with a cow on it because it’s kinda funny and takes photos of it in bathroom mirrors where, as he says, all tall guys have problems seeing their heads.
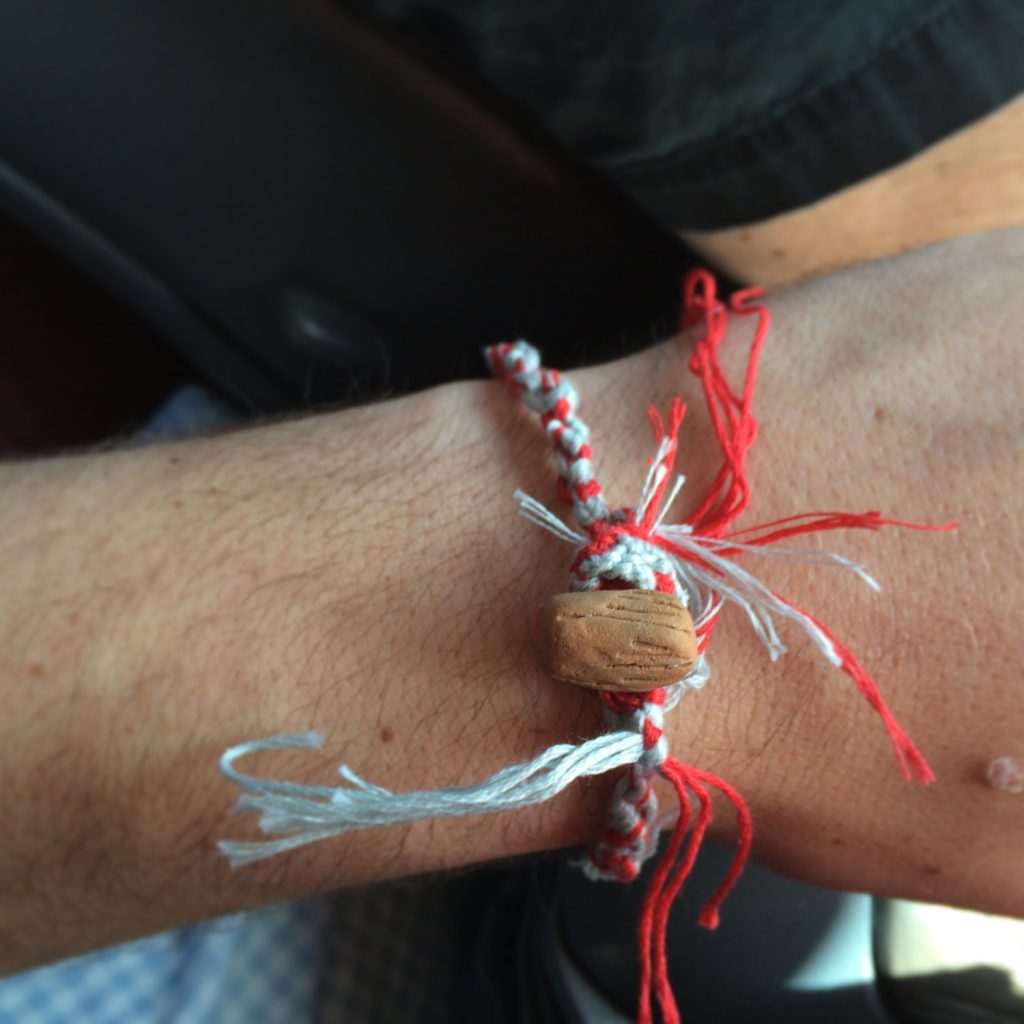
You make friendship bracelets with him on the long drive home and think about how you don’t want to waste any moments and you realize he’s probably just humoring you, making knots and spending time creating “manly jewelry,” but you don’t care and you eat it up like it’s the best food you’ve ever eaten.
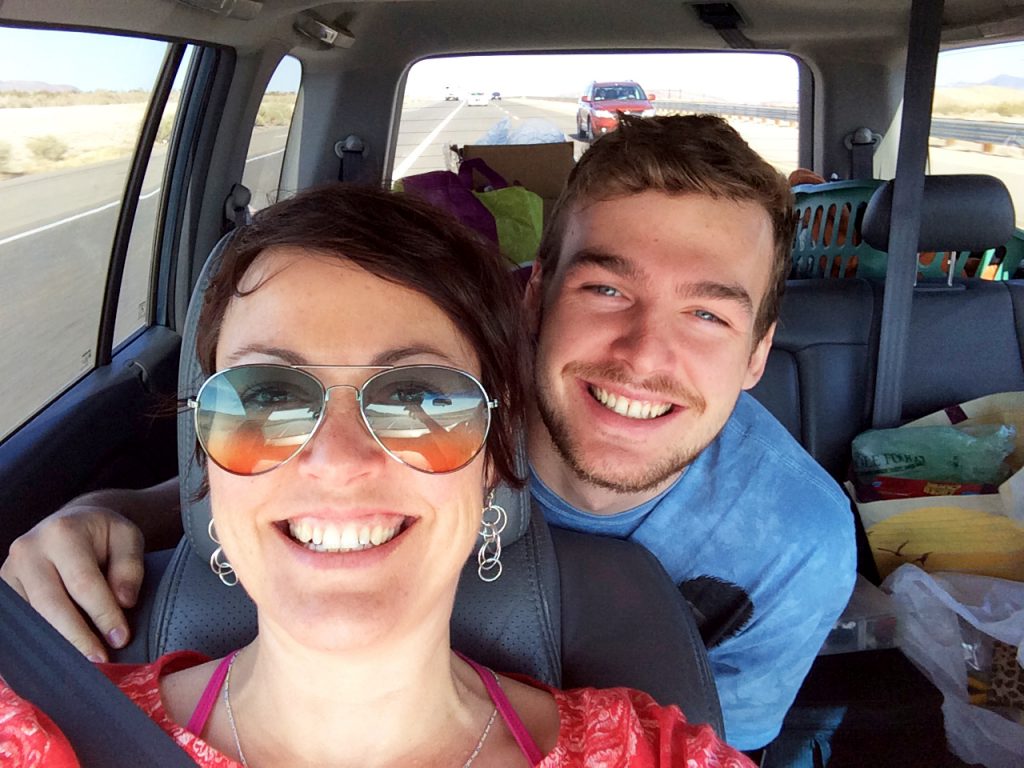
And you smile because he’s there and you’re with him and what else are you going to do, anyway, if not try to enjoy every moment possible before they fade away.
(*This was slightly edited after publishing.)


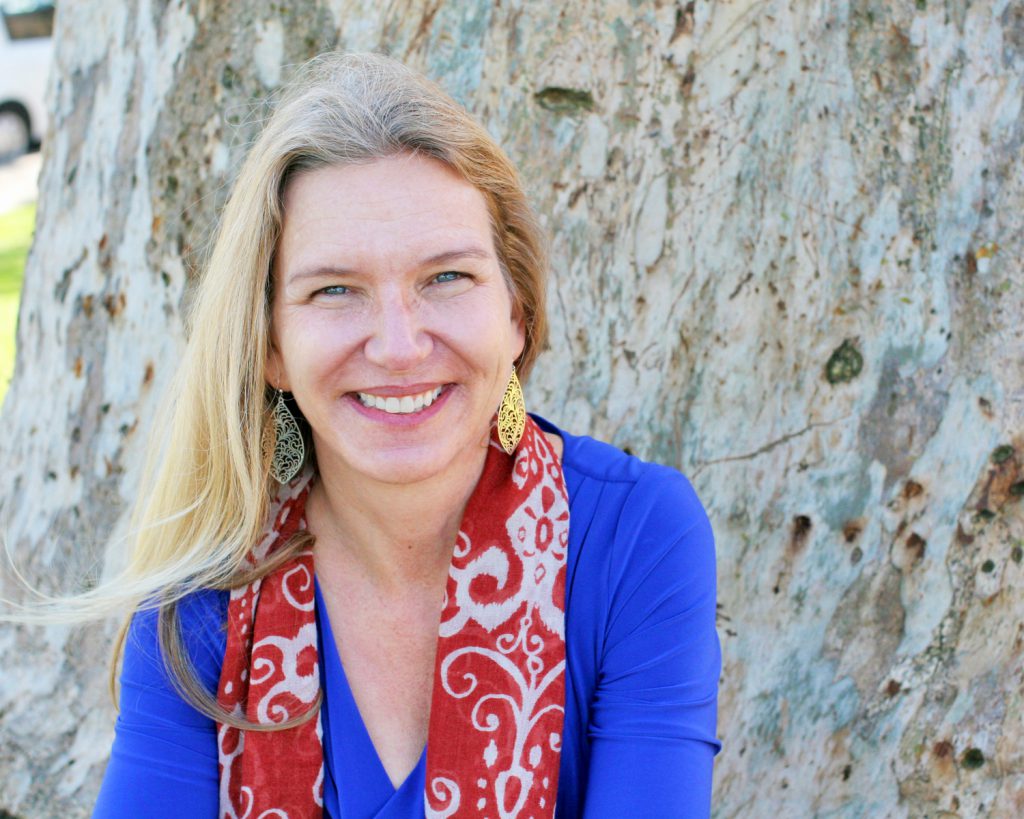
 (photo credit,
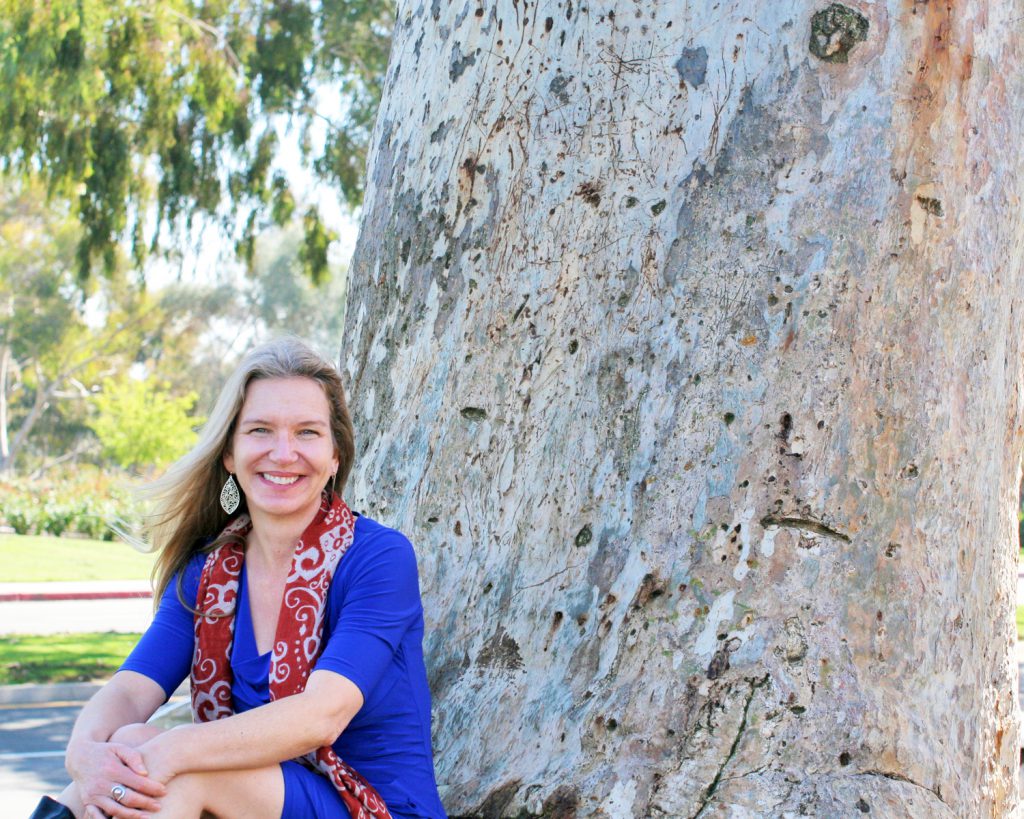
 1. I
1. I 


 1. Blogging since? 2006. But I didn’t start “
 1. I was laid off from my job in product management and marketing for a software company in July 2009. As I started looking for “real jobs,” specifically in the marketing space, I noticed that every one was asking for a writing portfolio. Knowing that a dry technical document like product requirements or a PowerPoint written in corporate speak didn’t showcase my best abilities, I thought I’d start a blog. Because, well, why not.
 1. I
1. I 

 I
I 


 1. I’ve been